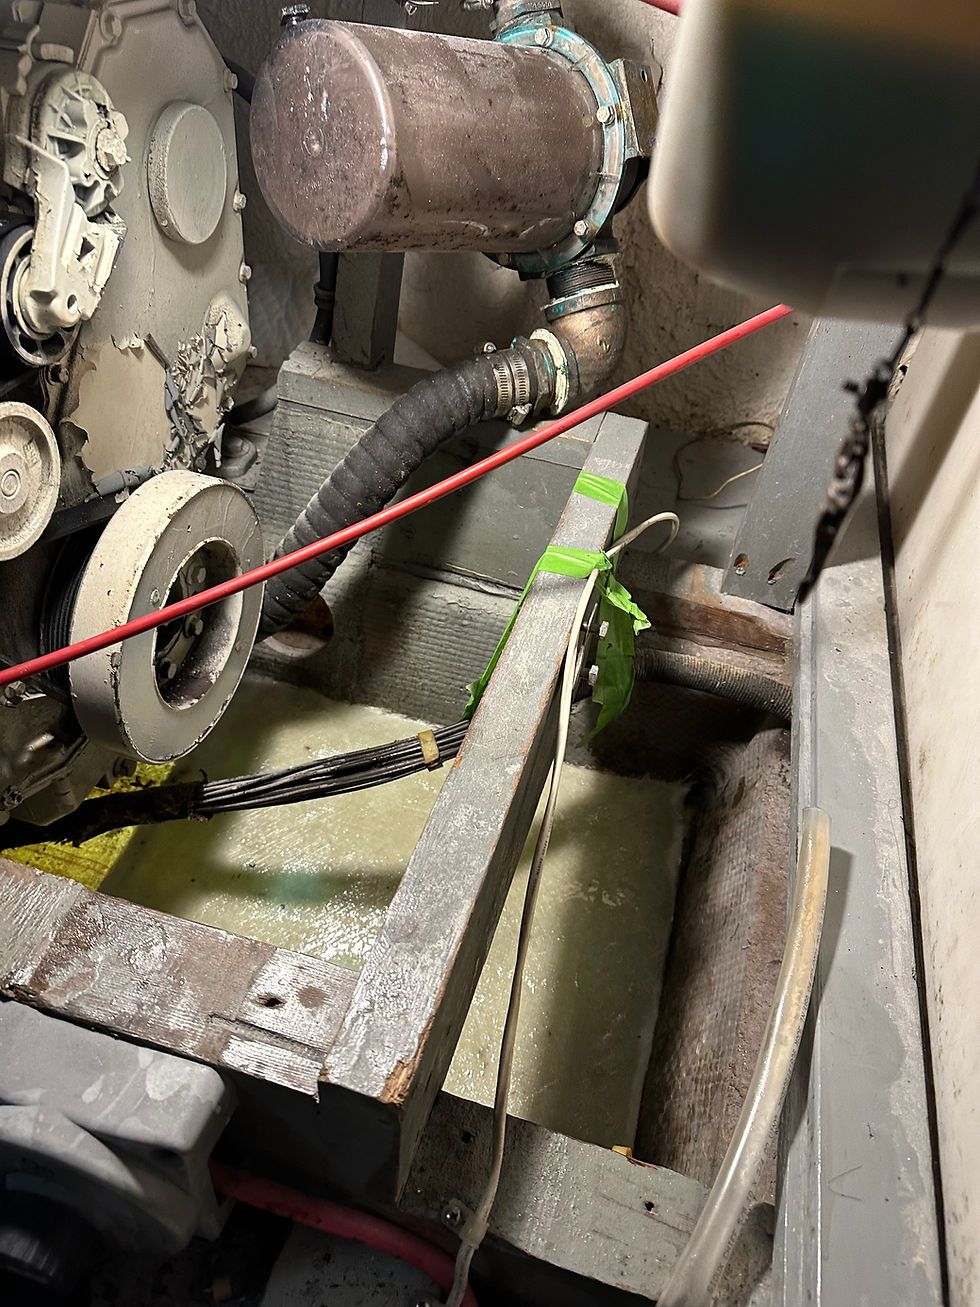
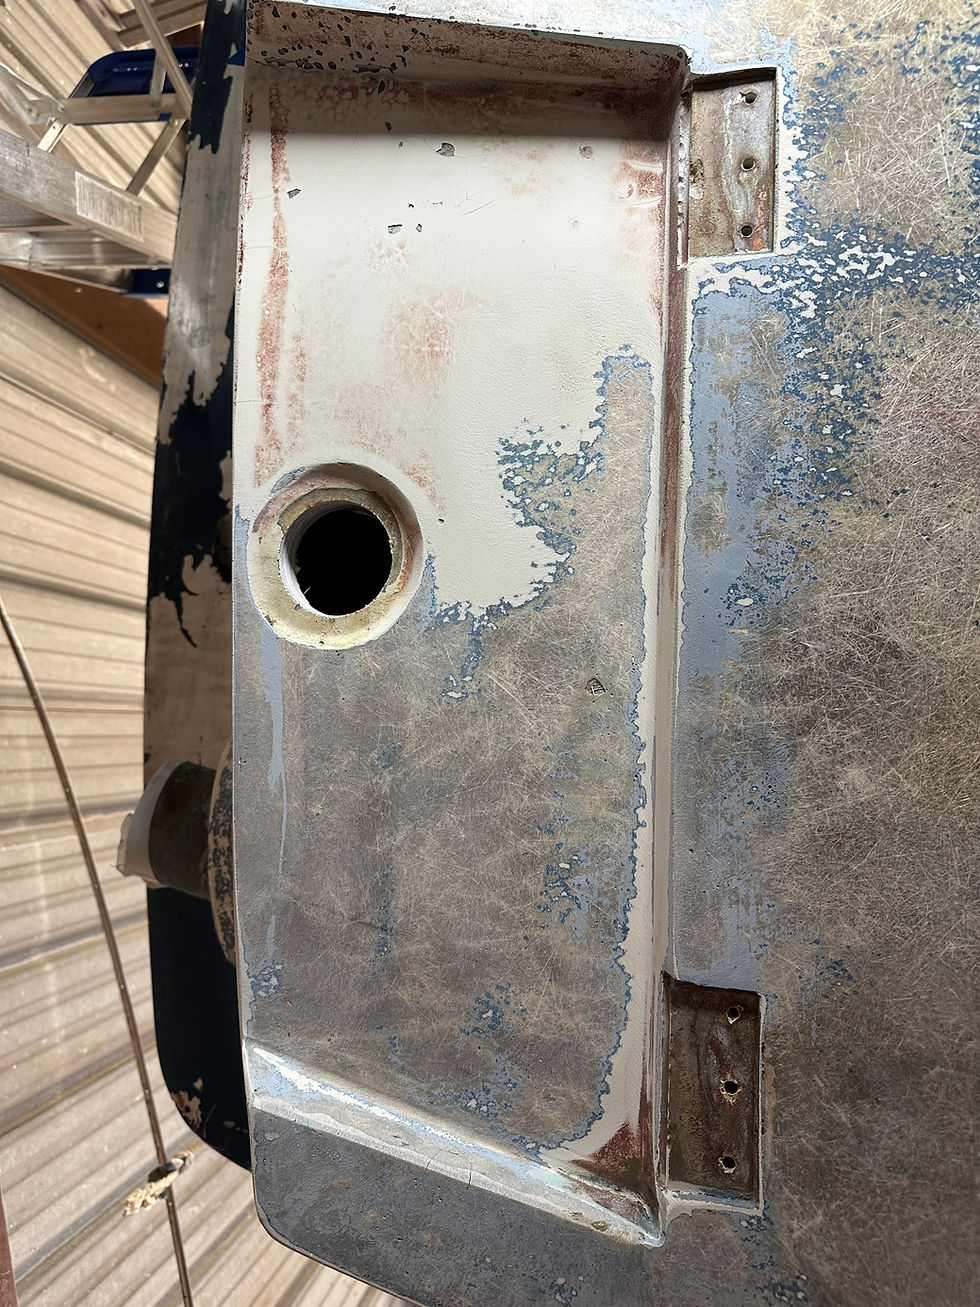
This project started out as simply blasting the bottom with the intention of barrier coat and bottom paint after a winter of the hull drying out. Well that was just scratching the surface and the deeper I dug the worse it got. The blasting uncovered a severely cracked and delaminated gelcoat. I came to the conclusion that the gelcoat needed to be stripped. As I stripped the gelcoat I found some of those cracks were more than surface deep, particularly under the engines. There was also many delaminations from what looked like a dry layup in the first chop strand layer. I only found a couple actual blisters that had long since burst and been washed out. I also found the whole area where the original radio grounding screen was to be very poorly bonded. I ground all of that out with a combination of my gelplane and a da sander.
After basically a year of grinding/sanding and time for the hull to dry out it was time to start building it back up. Even before I started grinding I found the hull to be substantially thinner than the Commander ledgend would lead you to believe. The hull is laid up essentially 1/4-3/8” thick and is thicker where the stringers and ribs are tabbed in. All this lead me to the decision to cold mold the whole hull below the waterline. I laid up 1708 biaxial fiberglass in west systems epoxy 1/4” over about a third of the hull under the engines, the keel, and the transom. The rest of the hull got 1/8”. I used peel ply to reduce blush and make the surface ready for future epoxy. This helped the layup process but was abit of a pain for the fairing process. I also took this opportunity to plug all the multiple holes the boat had accumulated over the last 55 years. There was 14 hull penetrations besides the shaft log, rudders and struts. I decided to fill and abandon the small factory tabs for aftermarket tabs.
Next was applying copious amounts of fairing over the whole hull and even more sanding, and sanding and sanding. I went through about three stages of fairing, sand, fair sand. Once I finally decided I got the hull as flat as I thought I could it was time to start applying barrier coat. I decided to sand the hull sides after 3 coats, this helped make it even smoother. This was particularly important for the fairing up into the boot stripes as they’re going to be finished in shiny paint that will show everything. I then decided to finish the spots where the blocks and stands would be, they got 6 coats of barrier coat, 1 coat of white Pettit Vivid, then 3 coats of green Vivid. Next I applied 3 coats of Alexseal primer, sanded that, then 4 coats of Alexseal flag blue, sand then 1 coat of properly reduced and tipped paint for the blue area of the boot stripe. This gave the bottom paint some time to cure, then I could lift the boat and move the blocks and stands. Now was the final stretch, the bottom got 6 coats of Pettit Protect barrier coat, the first two took quite a while to apply as I was chasing pin holes, I found the best way to take care of them was to tip the barrier coat with a brush after rolling. After I got all the pin holes the next 4 coats went of progressively faster. After the last grey coat I applied a coat of white vivid as my wear coat making sure to get it in the proper cure window so it bonds with the barrier coat. Last 3 coats of green.
This is a very high level explanation of what I did over the past year and a half. I have hundreds of hours and tens of thousands of dollars into this project, hence why I call it the biggest dumbest project I’ve ever done. I’ll edit this soon adding more details.


Boot Stripe done, Alexseal Flag Blue and Oyster White